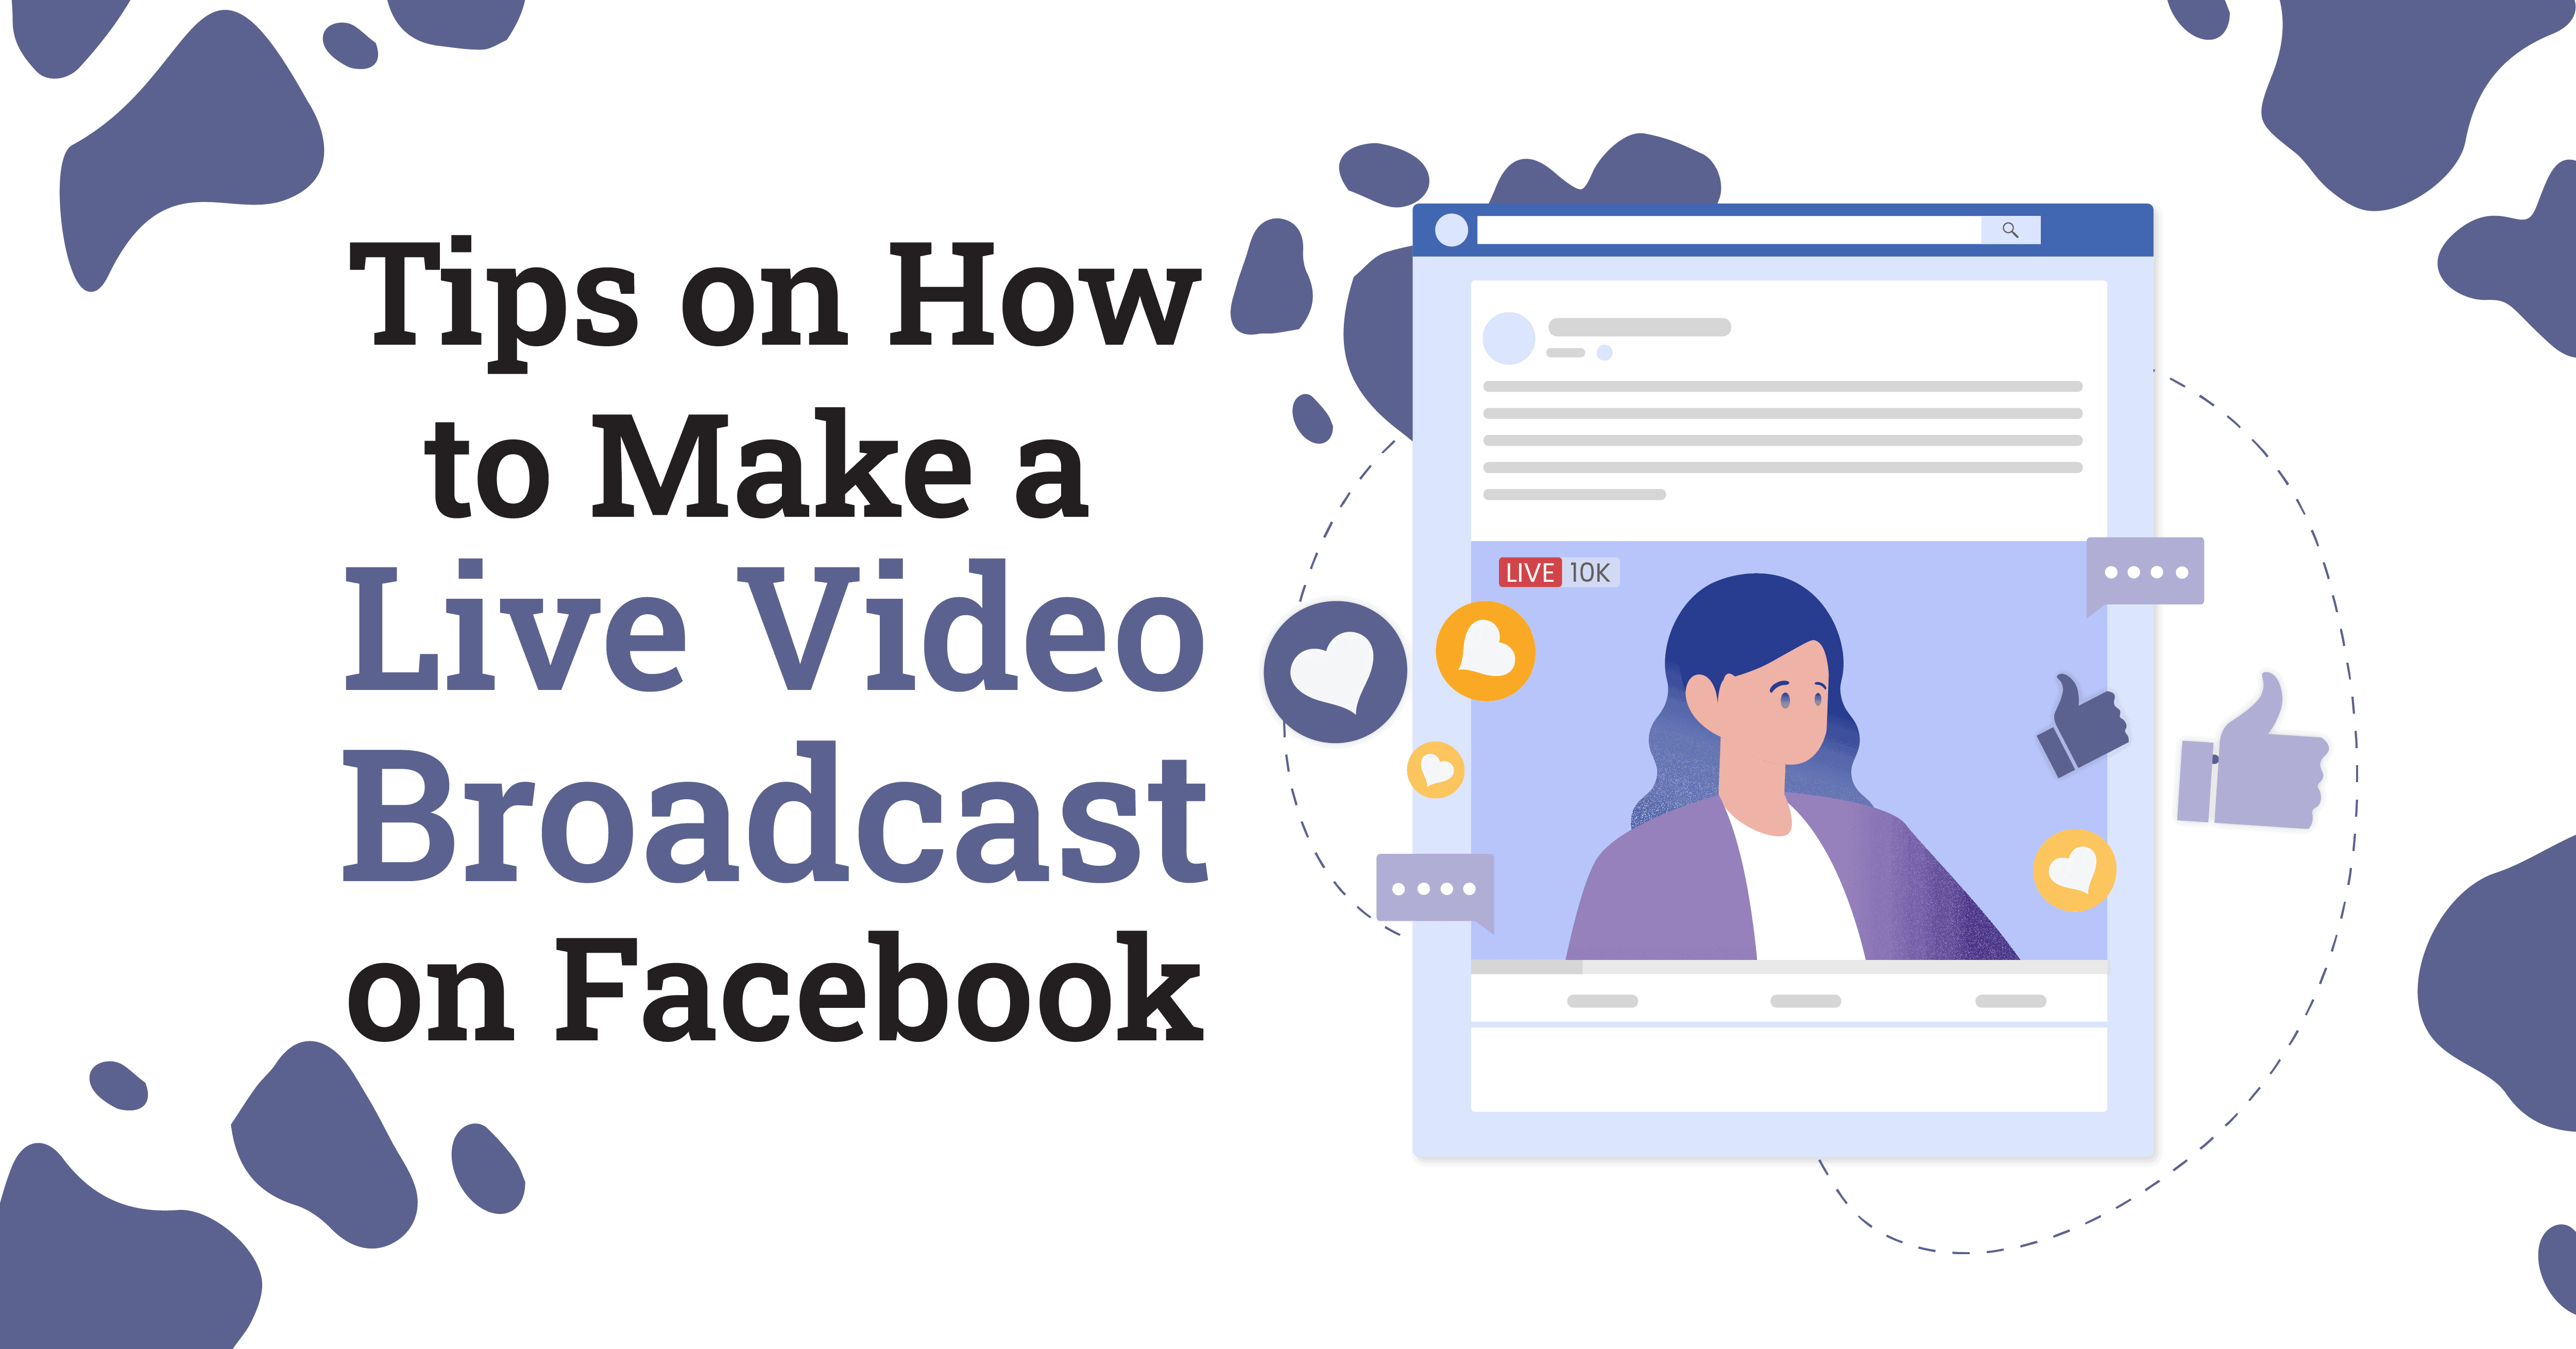
Since Facebook Live launched in 2016, it quickly elevated the number of people who watch live streaming videos online. In 2018, Vimeo stated that 78% of online audiences watched Facebook Live and is ever to become more popular. Fast forward to 2020, when the global health crisis took a toll at seminars, live events, and workshops have to stage it online through FB Live.
In a way, Facebook Live generates 3x the engagement with your followers than just posting a video. But, how can you make one for your brand? With that, here are some basic guidelines on how you can use Facebook Live to your advantage.
How to use Facebook Live
There are plenty of ways to launch Facebook Live, either through phone, laptop, or prerecorded. For on-the-spot live events, here’s what you need to do.
On-the-spot live recording (phone or laptop)
- Click the camera icon, found on the left side of the search bar, and allow Facebook to access your camera and microphone.
- Click “Live.”
- Create an appealing description, tag people, add an activity, and choose filters.
- Click the “Start Live Video” button to begin broadcasting.
- Communicate with your audience and commenters.
- Click “Finish” to conclude the broadcast.
Prerecorded Facebook Live videos? It’s possible!
Most content creators would prerecord their videos to save time. But, how can they feature those videos live on Facebook? There are three known ways to go live with a prerecorded video. Now, content creators can save time and focus more on growing their brand.
Facebook Watch Party
The social media’s Watch Party allows viewers to watch and engage together for a co-viewing experience in real time. You can invite viewers for a cross-channel live video or your own prerecord video that has been uploaded.
How to start a Facebook Watch Party
If you have a business page, you need to be an admin or an editor to start a watch party. It’s pretty simple, all you need to do is:
- Go to your page.
- Create a post and choose Watch Party from among the list of options.
- You can choose Live, Watched, or For You videos.
- Choose any videos you want, add a description, and hit that post button!
- Invite your followers to watch you on Facebook!
So, we can’t watch Live videos in reality? In a way, you can, but, it features more of uploaded videos. So, what to do? The best thing to do with Facebook Watch Party is to cross-channel someone’s live video, especially if that brand or page is your brand partner. That way, you attract both markets.
Paid software
There are paid apps on the net that allow you to schedule prerecord videos and stream them in multi-channels. For example, we have StreamYard, OneStream, or Livereacting for content creators to stream on Facebook, YouTube, Twitch, and Discord.
How to use cloud-based streaming software
These paid software are cloud-based applications and automatically publish your uploaded prerecorded videos to different social media channels. You can get one for as low as $10 a month!
- Simple upload your prerecorded videos on the app on queue!
- Schedule your videos on a certain date and time that you need.
- And, there you go!
Open source software
Perhaps the most commonly used prerecorded software is OBS (open broadcaster software) because it’s inexpensive and very handy. So, how to use OBS? Compared to the paid software, it requires you to have a little legwork to begin.
- Download the software and run the application.
- Configure the settings and set up your devices.
- Add sources for your video. If you have a prerecorded video, you need to click the “Media Source” and choose that video.
- Set up your audio and monitor for sounds and test your stream.
- If you plan on broadcasting it to Facebook Live, copy your stream key on Facebook under the Live Producer page.
- If you plan on streaming different videos, click off the permanent key and get a new stream key.
- Copy the stream key on the settings of your OBS and make sure that the settings are under Faebook Live. Click Apply then Ok.
- Test your sounds and stream on FB for admin and editors to see only. Once it’s okay, get ready to launch your “Live” video!
- Don’t forget to give your video a title and description.
- Ready to launch!
Three tips for using Facebook Live
Facebook Live allows you to create situations that are relatable and fun. You can have someone join you, do activities spontaneously, or perform unrehearsed— which always make for good content. Embrace the platform’s ability to show your true personality.
Make the video engaging.
Facebook started observing signs of video engagement; this means that you have to create visually appealing Facebook Live streams— like keeping the camera moving, enabling the high definition, applying audio, switching to full-screen mode— so that your video will rank higher on the feed. More people are likely to stick around in your stream if they find it enjoyable and audience-friendly.
You can make the video interactive by communicating with commenters and mentioning them by their name. You can also take the chance to encourage them to like, share the video, and subscribe to your Facebook live notifications so they can watch your other videos.
Go live for at least 10 minutes.
The longer you broadcast, the more likes, comments, and shares you will accumulate. Therefore, more audiences would likely discover your video and share it with their friends or post it in their Facebook feed. Timing is such an essential element in getting large engagements on Facebook Live. You can stay live for up to 90 minutes, but if you can’t, it is recommended that you should at least broadcast for 10 minutes to reach more viewers.
Make it spontaneous.
In a way, live streaming is the new reality TV because anything can happen while you’re on it. It’s not scripted, edited, or prerecorded, which gives viewers tremendous excitement compared to other platforms’ seemingly predictable nature. Since people love communicating online, the spontaneous and interactive nature of it is where live streaming truly shines.


